


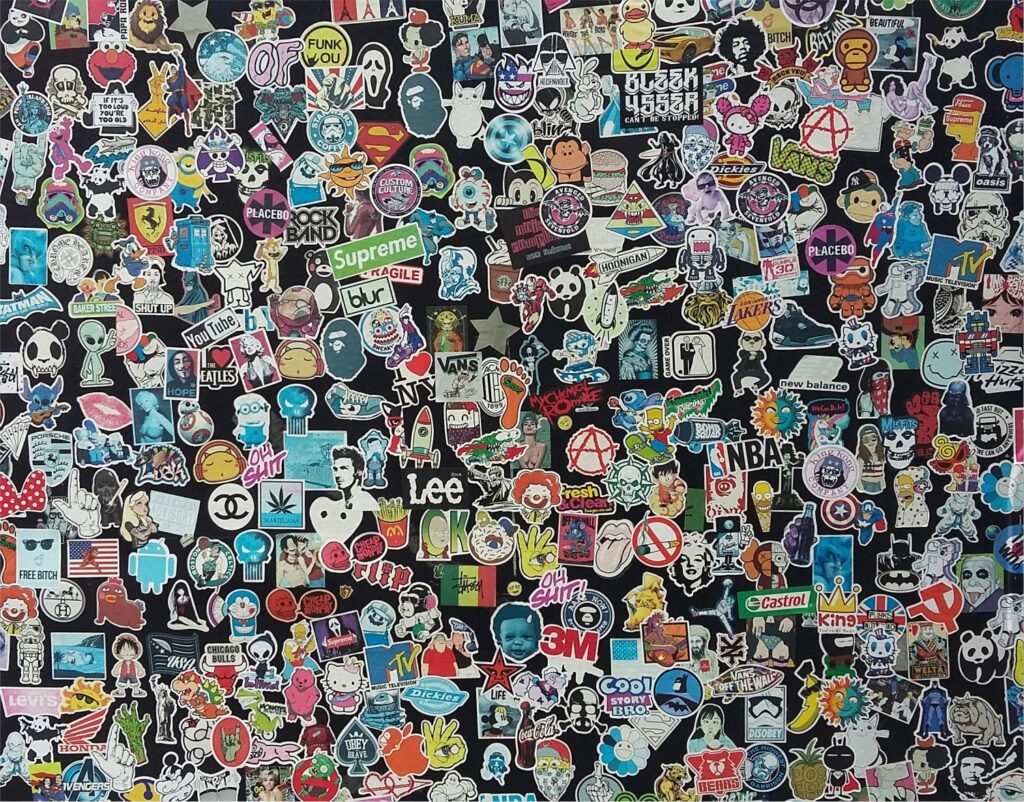
Stickers are everywhere from laptops and water bottles to product packaging and promotional materials. While they may look simple, the process of making stickers involves creativity, technology, and precision. Understanding how stickers are made gives insight into the craftsmanship behind these small but powerful visual tools.
The sticker-making process begins with an idea or design. This stage is all about creativity. Designers use digital software to create artwork, logos, illustrations, or text-based designs. Colors, shapes, and typography are carefully chosen to ensure the sticker is visually appealing and easy to recognize. The design is typically created in high resolution so it prints clearly, even at smaller sizes. Once finalized, the design file is prepared for printing, often with bleed areas and cut lines included.
Next comes material selection. Stickers can be made from a variety of materials depending on their purpose. Paper stickers are commonly used for indoor applications such as labels or packaging, while vinyl stickers are preferred for outdoor use due to their durability and water resistance. Some stickers are designed to be transparent, holographic, matte, or glossy, giving them a unique finish. Adhesive choice is also important, as it determines how strongly the sticker sticks and whether it can be removed easily without leaving residue.
After materials are selected, the printing process begins. Modern sticker production mainly uses digital printing, which allows for vibrant colors and detailed designs. Large-format printers apply ink directly onto the sticker material with high accuracy. For mass production, offset printing may be used to achieve consistent quality at a lower cost per unit. Once printed, the sheets are allowed to dry to ensure the ink sets properly and does not smudge.
The next step is lamination, which adds a protective layer over the printed design. Lamination helps protect stickers from scratches, moisture, sunlight, and fading. This step is especially important for stickers intended for outdoor use or frequent handling. Depending on the desired look, laminates can be glossy for a shiny finish or matte for a softer, more subtle appearance.
Cutting is where stickers truly take shape. Using precision cutting machines, such as die-cut or kiss-cut equipment, the stickers are cut into their final forms. Die-cut stickers are cut all the way through the backing, creating individual sticker shapes. Kiss-cut stickers cut only the top layer, leaving the backing intact so multiple stickers remain on one sheet. This step requires accuracy to ensure clean edges and consistent shapes.
Once cut, the stickers go through quality checks. Any misprints, color issues, or cutting errors are removed. The final products are then packed, either as individual stickers, sheets, or rolls, depending on their intended use.
In conclusion, sticker production is a thoughtful blend of design, material science, and manufacturing technology. From the initial creative concept to the final cut, each step plays a vital role in delivering a sticker that looks great and performs well. The next time you peel and place a sticker, you’ll know the detailed process behind that small but impactful piece of art.